Payment project management
Multi-project nature
A merchant account serves as the core of your business, encompassing various entities such as legal entities, branches, offices, and more. All your accounts within the Financial Line system, including those in different currencies, along with analytics, payment, payout, and settlement information, teams, and payment projects, are consolidated within a single account. Organizing your business lines or points of sale by payment projects allows you to manage payment traffic, customize the payment experience for your customers, and structure information for detailed analysis.
Benefits of structuring at the project level:
- Payment methods and currencies: define the list of supported payment methods and currencies for each point of sale.
- Customization: customize the appearance of the checkout for each point of sale/store using hosted integration. This includes branding, supported languages, and the collection of payer information.
- Analytics and records: sort and separate transaction records, and view analytics specific to each area.
- Technical settings: apply technical settings specific to each project, such as regulating parameters transmitted in webhooks, API responses, tokenization, etc.
- Testing hypotheses: use different projects for the same point of sale to test hypotheses on customer payment preferences.
There is no limit to the number of projects you can have in your account, allowing you to structure your business as needed. While it's often recommended to use the same project even for a large number of clients, certain conditions may warrant the creation of multiple projects.
For example, if you have stores in Ukraine and the EU, you can distribute your payment traffic by region. Create one project for Ukrainian clients and another for EU clients. This allows you to set up payment acceptance in the local currency (hryvnia and euro), customize the checkout design to suit the local market, and analyze the performance of each store. The account structure would look like this:

Each merchant account in the merchant portal is assigned a test project for setting up integration and testing.
When managing a large number of projects, you can use partial match search in the project list to find specific projects more easily.
Live projects
Unlike test project, live projects allow you to accept real payments from your customers.
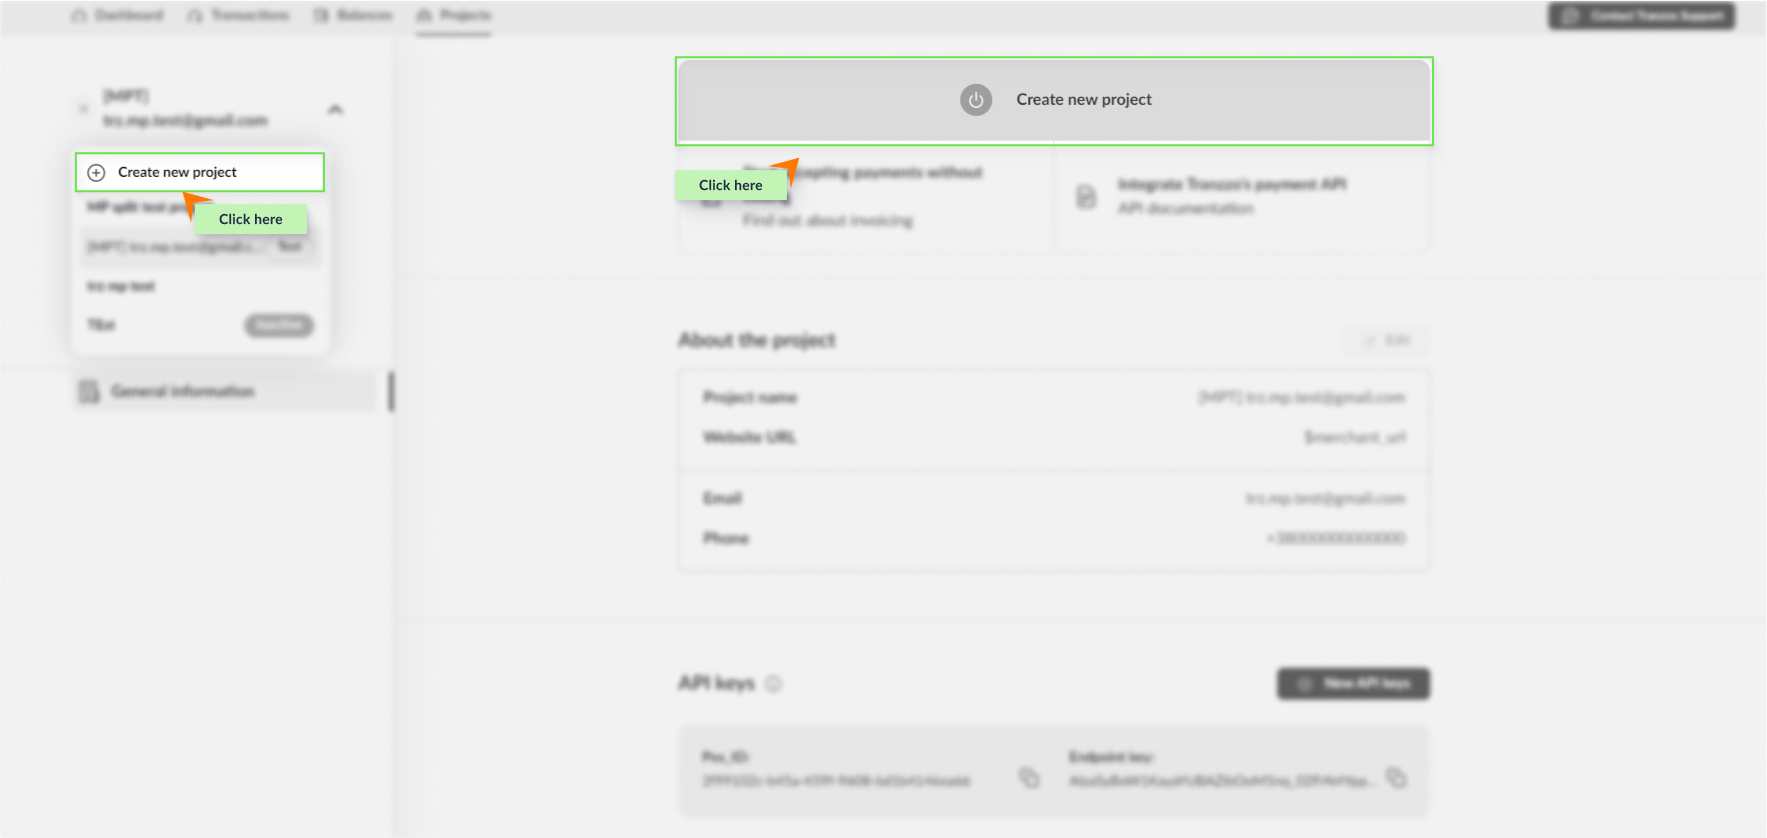
You can create a live project in the Projects section of the merchant portal in one of the following ways:
- By selecting the corresponding option from the list of your projects.
- By clicking the corresponding button on the test project page.
To create a live project, you need the following minimum set of data:
- Project name
- The URL of your website through which you offer your services to customers.
- (Optional) Contact Phone Number.
Live projects are created inactive, meaning they cannot be used to accept payments until the settings are completed by our team. For activation, contact the Financial Line or your personal manager.
After completing the integration on the test project and activating the live project, ensure you have replaced the authentication data to start accepting real payments from your customers.
If necessary, you can create new API keys and delete existing ones for your projects.
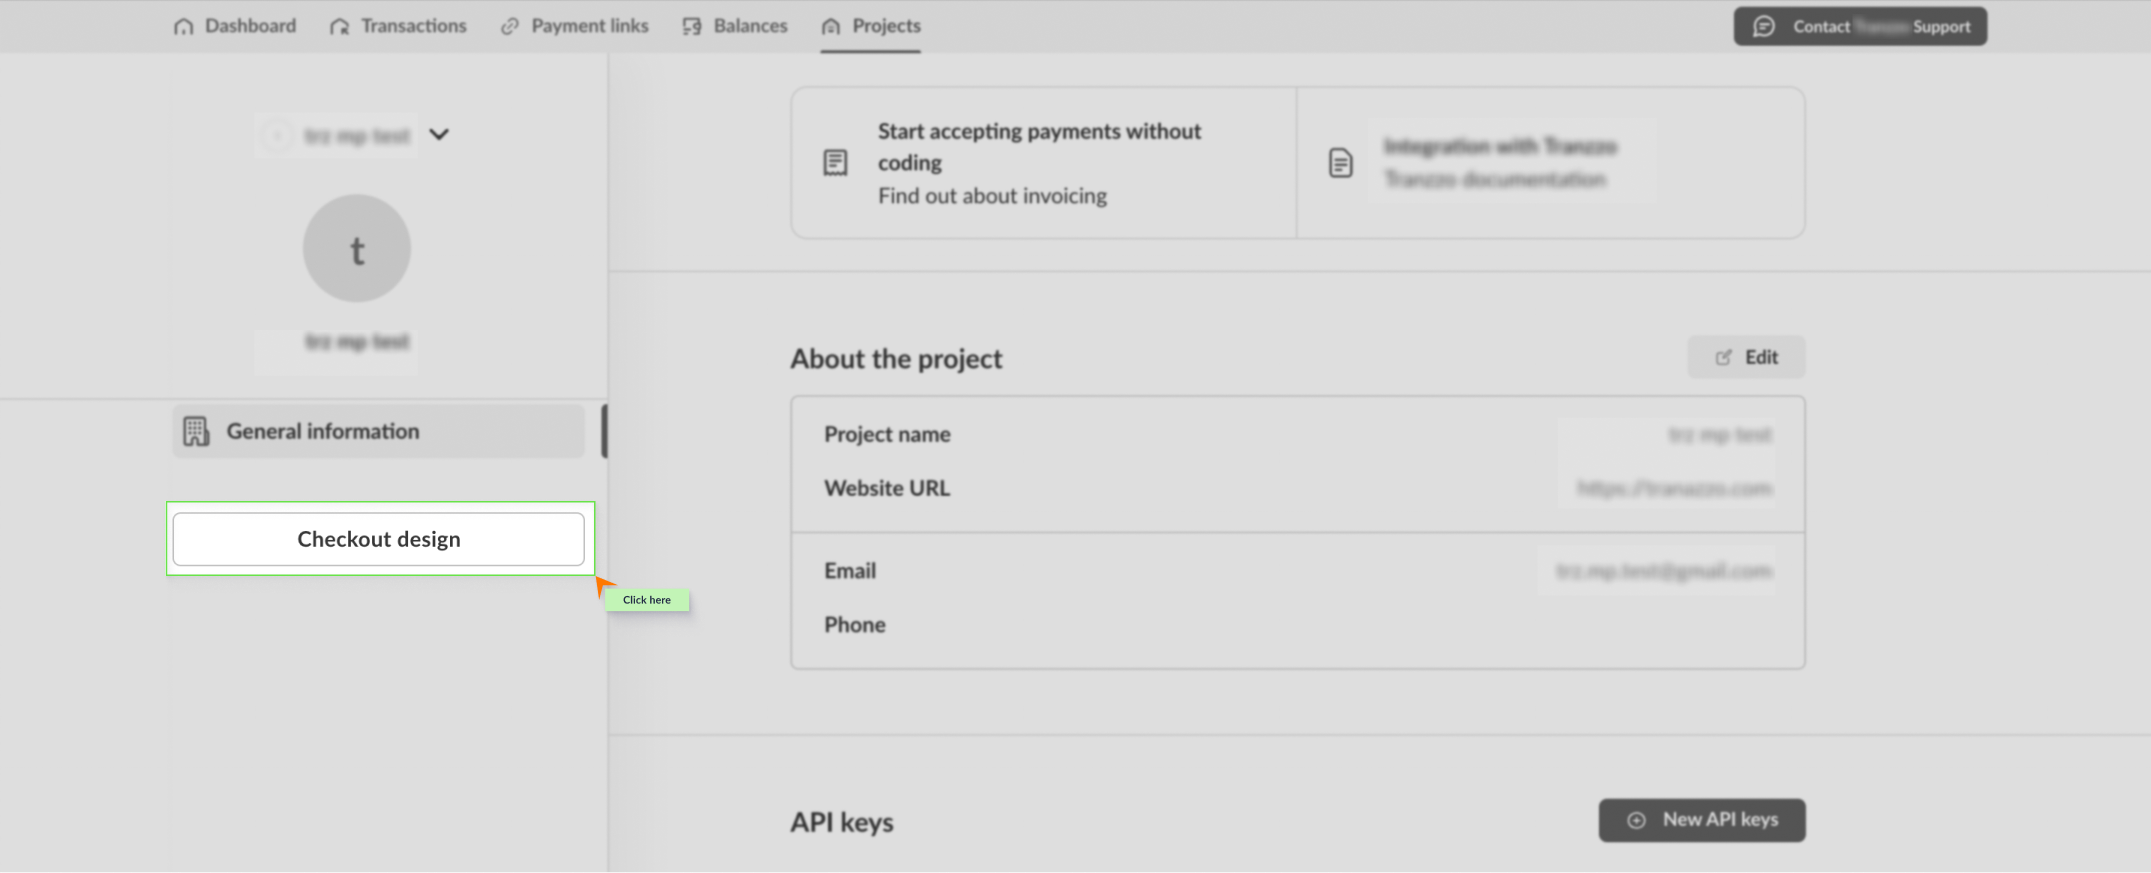
Checkout builder
In the Projects section, you also have the ability to customize the appearance of the hosted checkout. To do this, select the project for which you want to customize the checkout and proceed to the Checkout Design window.
Components available for customization:
- Company logo (SVG format files up to 5 MB are supported).
- Website icon: Add a website icon that will be displayed in the browser tab (ICO format files up to 100 kB are supported).
- Action button and preloader colors.
- Background color.
- Font color: set the font color for the action button.
- Card brand logos: display logos of card brands, including Visa, Mastercard, and UnionPay.
- Card storage management: provide customers with a one-click payment option by managing stored card information.
When setting up the component color scheme, you can specify the colors in HEX format or choose them through the color palette.
Saved payment page styles can be reused for other projects. To apply a previously saved style, simply select it from the list.
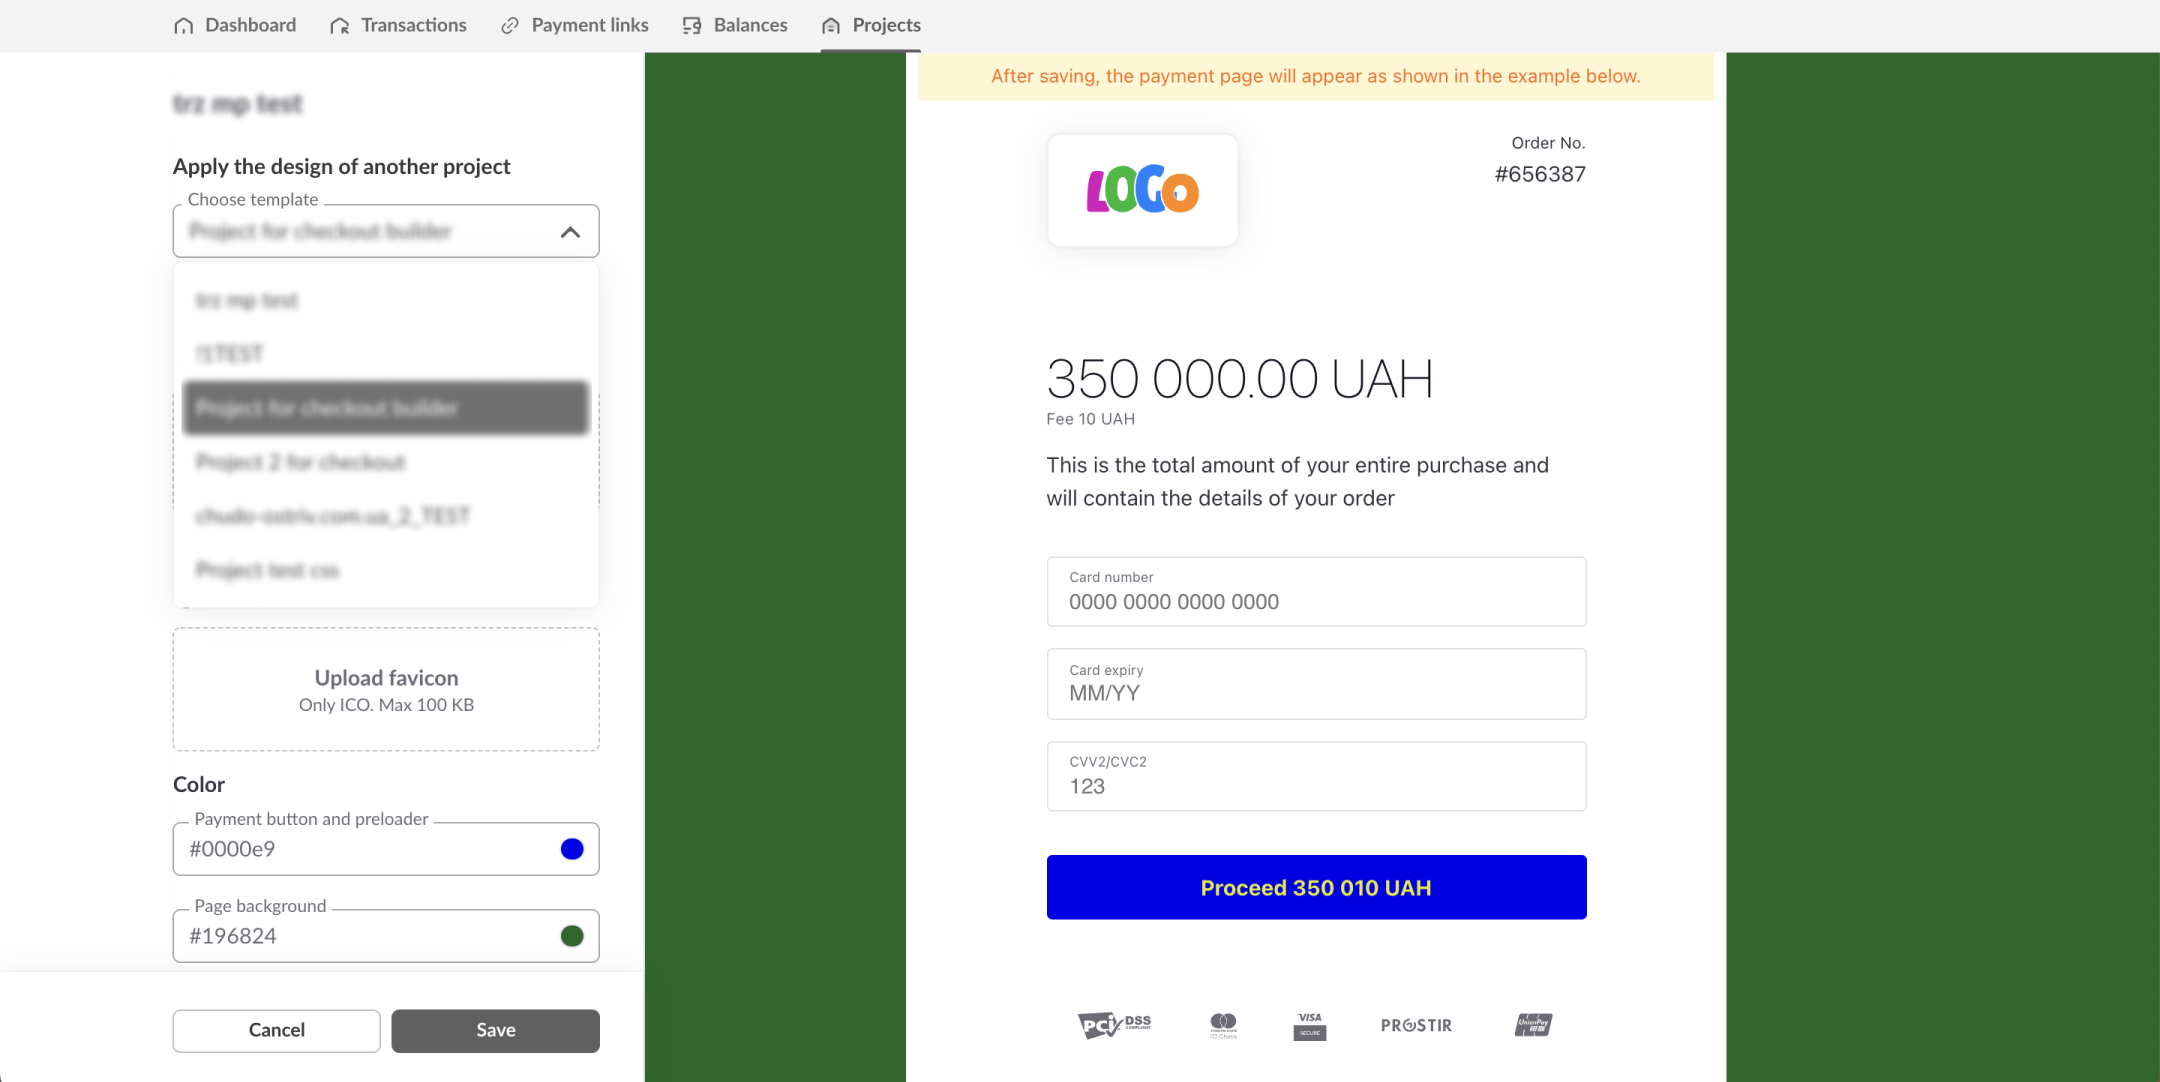
Please note, after saving the customized style, changes to the design of the checkout will be applied within 30 minutes.