Global merchant account settings
Global merchant account settings affect all user accounts under that merchant. Access to managing these settings is available to users with the Account Owner and Admin roles.
Team management
A team consists of all users working with you within the relevant merchant account.
The functions for managing a team include:
- Changing the team name.
- Viewing users of the team and their details.
- Adding and removing users.
Changing the team name
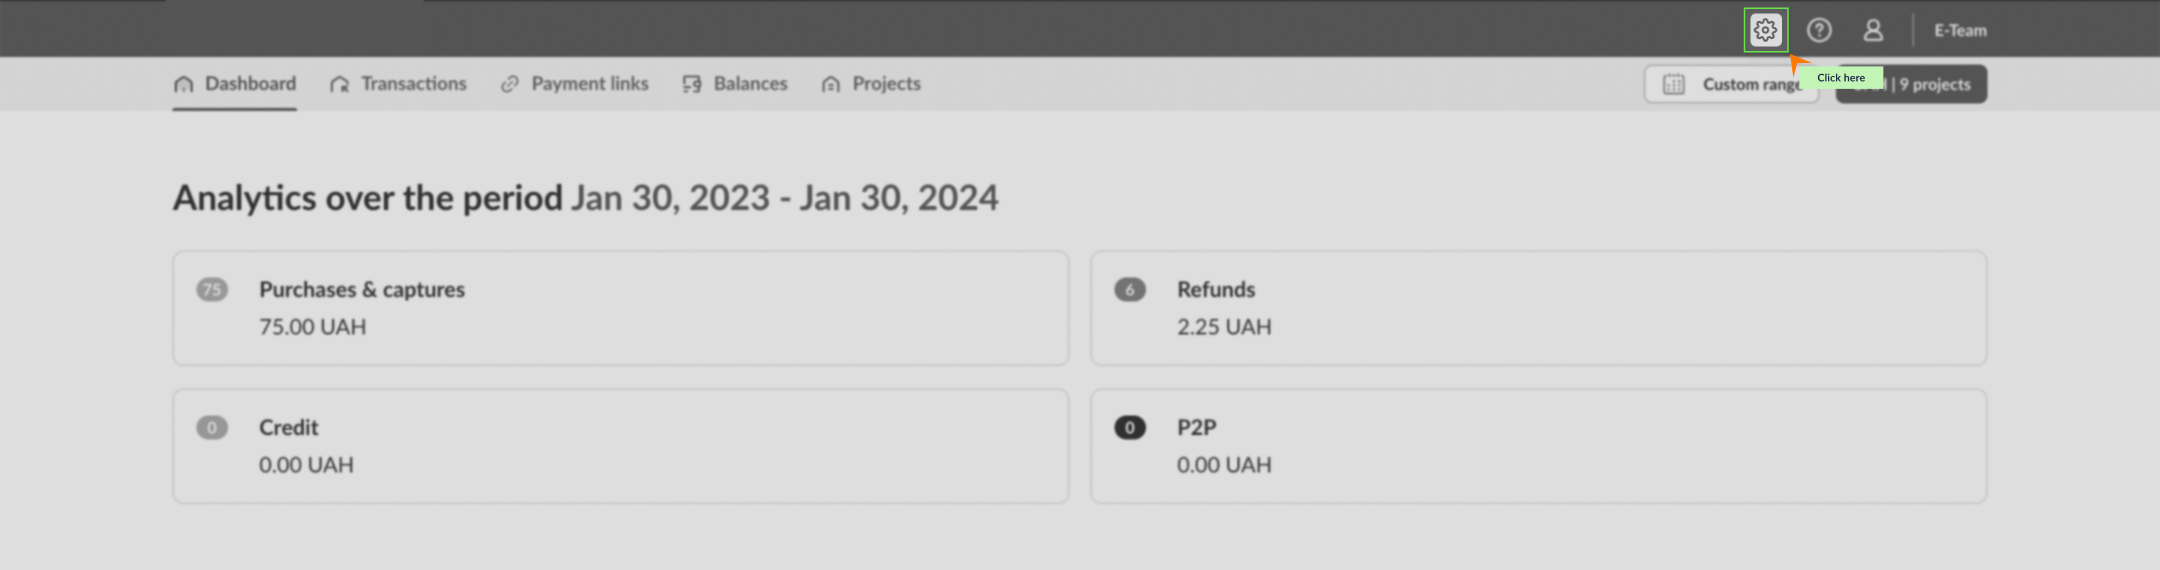
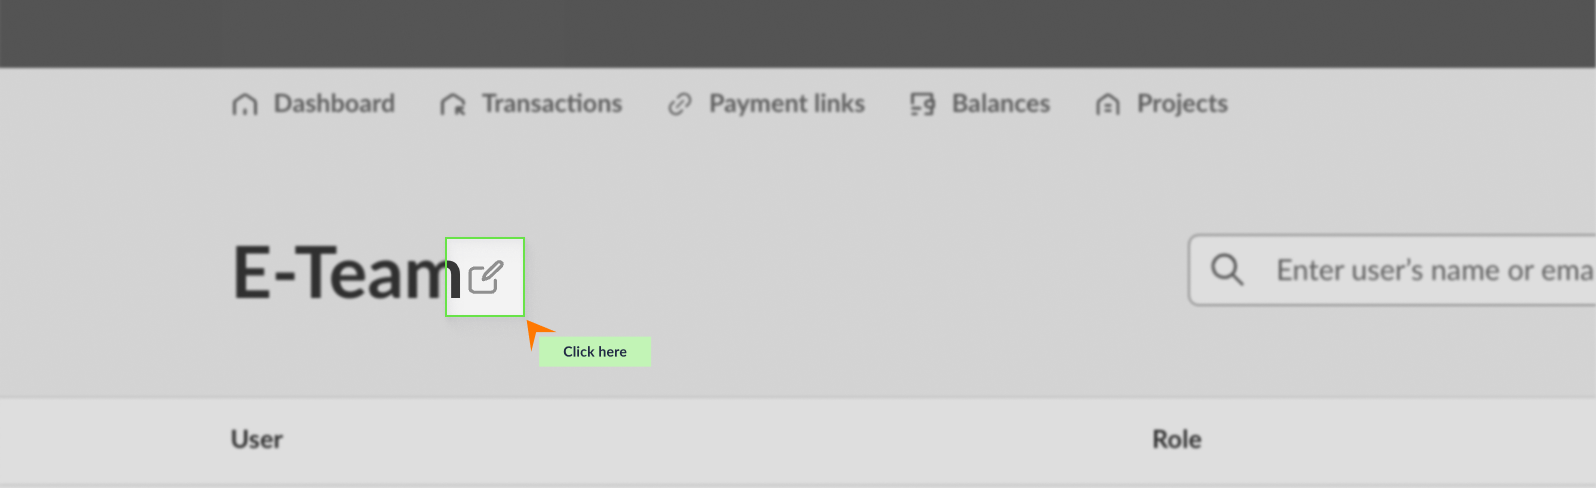
The team name is displayed at the top of the merchant portal page and in invitation letters for new users. To change the team name, go to the Team page and click the edit button next to the current name.
Viewing users
You can view all users and their details by going to the Team page. To find information about a specific user, use the search function by entering their name or email address.
Adding new users
Adding new users involves the following steps:
- Click the Add user button on the Team page.
- In the modal window, select the user type "Staff member".
- Select the roles that will be available to the users being added. A description of each role and a list of access options for each are displayed in the corresponding modal window.
- Specify the email addresses of the users to be invited to the selected roles. You can add up to 10 users at a time.
When configuring roles, it is possible to select one or more roles simultaneously to combine access permissions.
Invited users will receive an email invitation to join your team. The invitation is valid for 48 hours. If necessary, you can resend the invitation.
A user with the same email address cannot be part of multiple teams (teams of different merchants) simultaneously.
If necessary, you can delete a user by clicking the action button next to their record.
SBCR Configuration (Ukraine)
On the SBCR page in the merchant account settings, users can view existing SBCR configs, create new ones, and delete or deactivate existing ones.
You can find information about SBCR, as well as the procedure for setting up its configurations, here.
Sending transaction registers
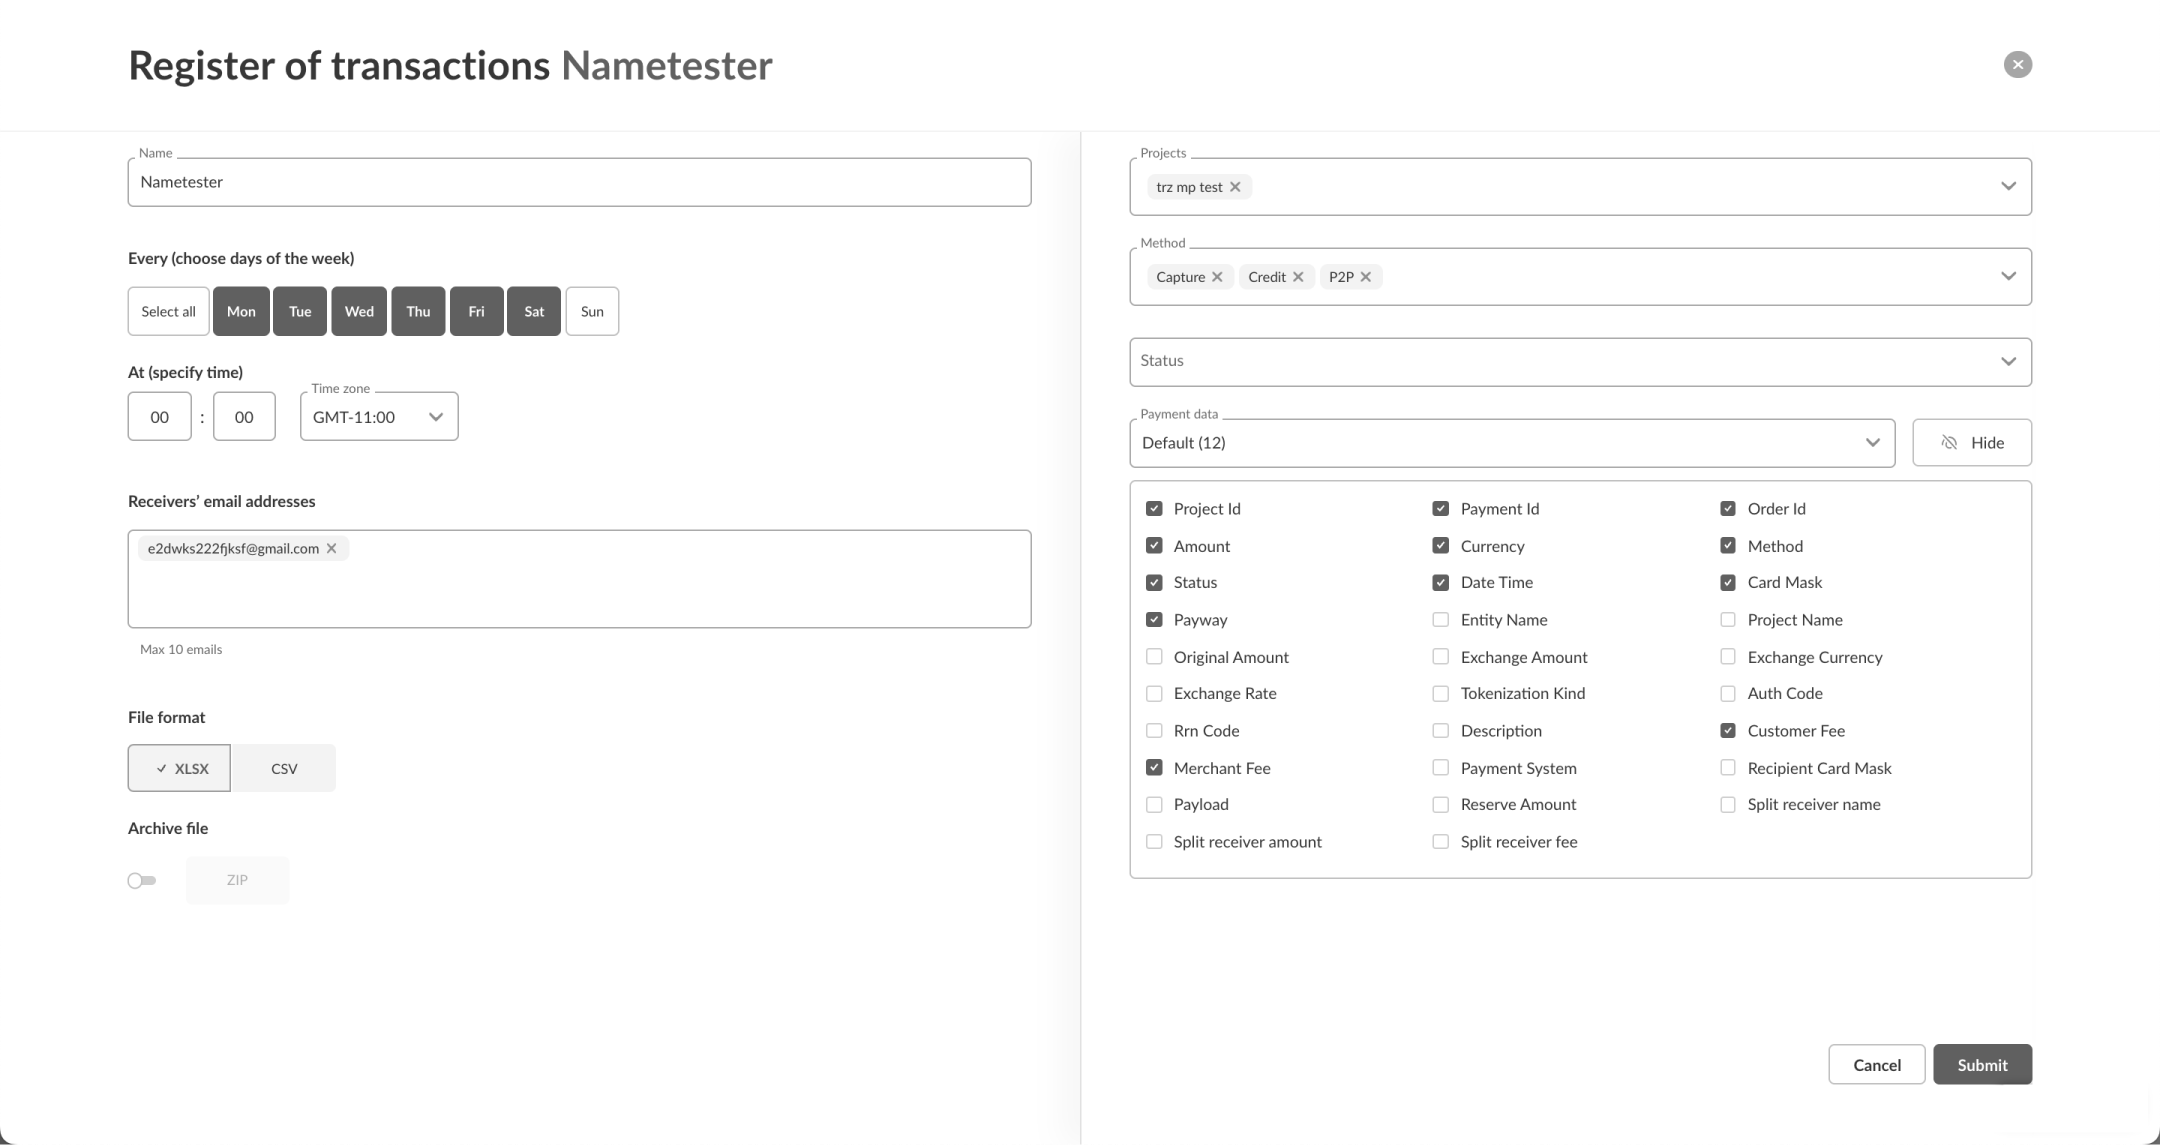
On the Register of transactions page, you can configure the regular sending of transaction registers to email, as well as the amount of data that will be contained in each register.
You can create multiple configurations for sending payment registers, each with different content and recipients.
When setting up the configuration for sending transaction registers, you can set:
- Configuration name.
- Frequency: the days of the week and the time (including the time zone) when registers will be sent.
- The email addresses of the recipients to whom registers with the corresponding settings will be sent.
- The format of the files in which the registers will be sent (CSV or XLSX), as well as their archiving.
- The filters by which payment lists will be formed, including the list of payment projects, transaction methods, and their status.
- The set of transaction data to be included in the registers (columns with data in the register tables). You can choose both ready-made presets or manually set each parameter.
Security policy settings
This page is for setting global security settings for the merchant account, meaning these changes will affect all users. Currently, you can set a list of IP addresses from which requests to the Financial Line API for your projects can be made (IP whitelisting). This allows you to restrict the ability to send requests from third-party IP addresses not specified in the configuration.
If no configuration is set for a project, API requests can be sent from any IP address.
Steps to create a configuration:
- Click the Add project button on the Security policy page.
- Select the project(s) for which you want to configure IP whitelisting.
- Enter the IP addresses to be added to the whitelist, switching between the IPv4 and IPv6 tabs depending on the protocol type. When entering multiple IP addresses, separate the values using the “Enter” key.
- Submit the configuration request.
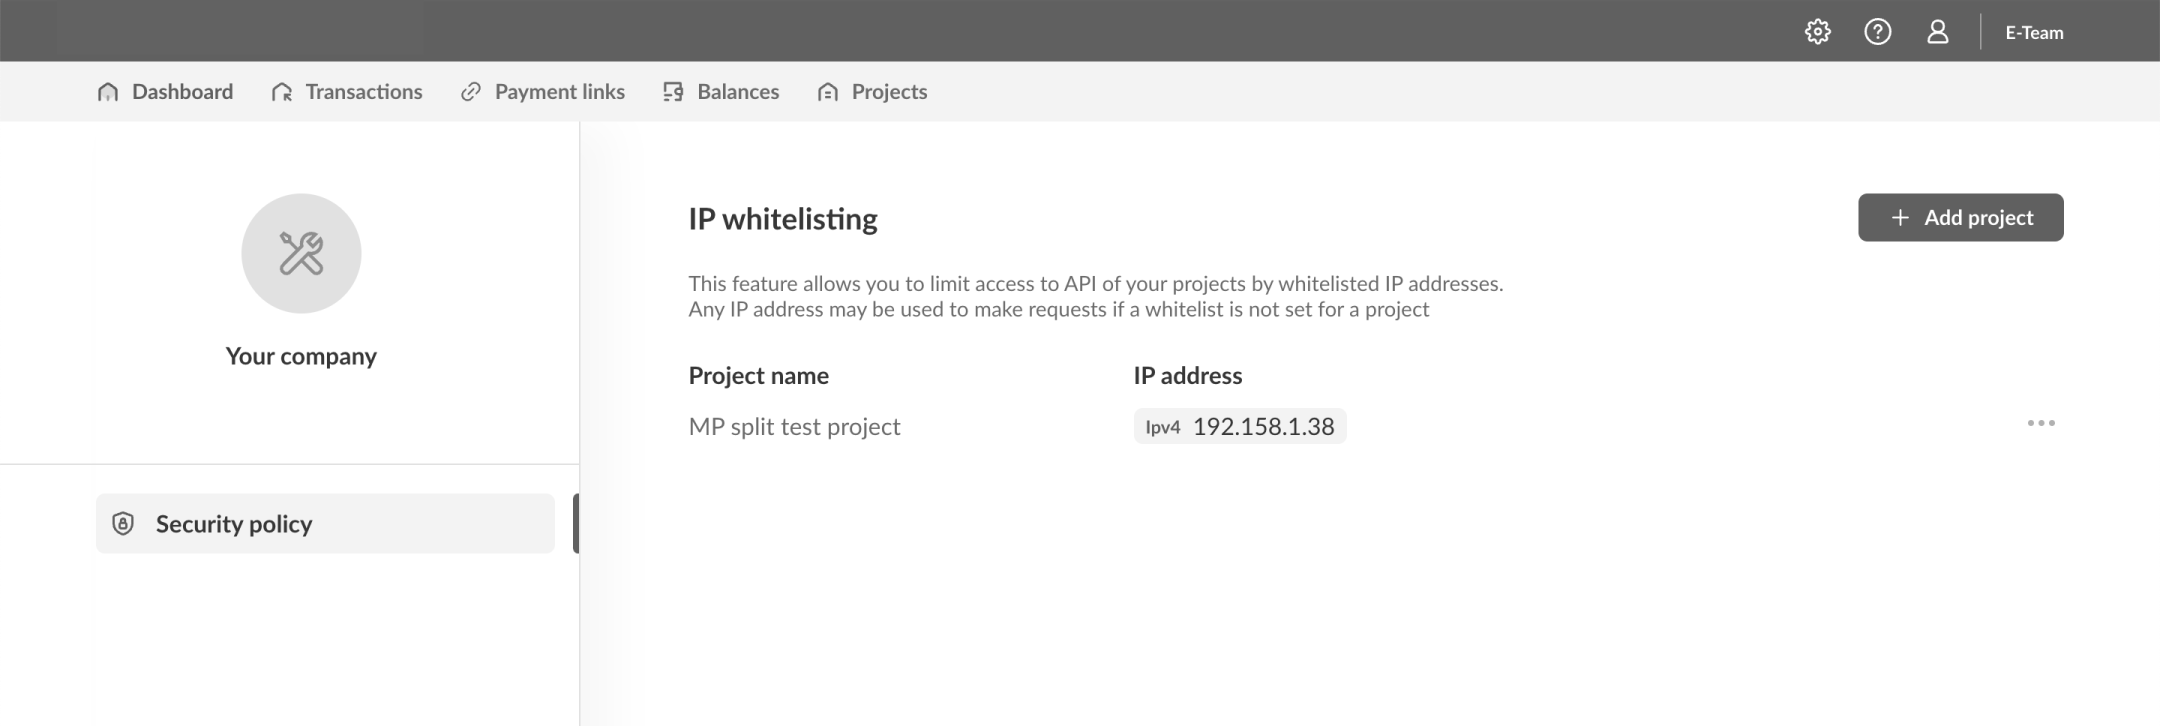
If necessary, the configuration can be deleted in the future.
When creating IP whitelisting settings for multiple projects at once, the settings will be saved and distributed as individual records for each project.